
EasyCards Merchant Portal Operations Guide#
This guide is for merchant administrators using the EasyCards Portal. It follows the implemented workflow for onboarding, funds accounts, teams, cards, and system settings. Invited cardholders use the H5 site—not the Merchant Portal—to activate invitations, complete personal KYC, and view their own cards.
Operating rule: A “submitted successfully” message only confirms that a request was accepted. Whenever an operation shows
PENDING,PROCESSING,CONFIRMING, or another in-progress state, return to the relevant list, details, or ledger to confirm the final state. Do not resubmit simply because processing takes time.
Documentation sample safety notice: Deposit addresses, QR codes, account names, balances, card numbers, API Keys, Webhook URLs, Secrets, and other sensitive values shown in this guide are fictional, masked, or redacted examples used only to explain the interface.
Never use any address, QR code, key, or card information from this guide for a real transfer, deposit, payment, or production API request. For a real operation, sign in to the EasyCards Portal and use the information currently displayed for the active account.
Portal quick links (sign in first; account permissions still apply):
| Page | Direct link |
|---|---|
| Registration / sign-in | Create account · Sign in |
| Dashboard / company KYB | Dashboard · Company KYB |
| Accounts / deposit records / balance details | Account list · Deposit records · Balance details |
| Card products / cardholders / team | Card products · Cardholders · Team members |
| Shared account / shared cards / ledger | Shared account · Shared cards · Shared-account ledger |
| Stored-value cards / top-up requests / transactions | Stored-value cards · Top-up requests · Card transactions |
| Security settings / API Keys | Security settings · API Keys |
| Webhooks / delivery logs | Webhook configuration · Delivery logs |
1. Scope and permissions#
1.1 Portal and H5 responsibilities#
| User | Entry point | Main operations |
|---|---|---|
| Merchant Owner, Admin, VCC Admin, or Super Admin | EasyCards Portal | Company KYB, funds accounts, team invitations, card issuance, shared accounts, card management, top-up approval, API Keys, and Webhooks |
| Merchant operator with assigned permissions | EasyCards Portal | Only the pages and actions allowed by the user's role and permissions |
| Invited cardholder | EasyCards H5 | Invitation activation, sign-in and TOTP, personal KYC, own-card access, top-up requests, and own transactions |
A vcc_member who signs in to the Merchant Portal is directed to H5. Merchant administrators should not send the Portal sign-in address to cardholders.
1.2 Menus and actions depend on permissions#
The Portal filters menus and actions by the active account, role, and permissions, so two users may see different controls:
- team management requires an administrator role and team-management permission;
- issuing a card also requires card-create permission;
- viewing a shared account, transferring funds, and changing card limits use separate permissions;
- direct stored-value-card top-up, top-up request, and top-up approval are three separate permissions;
- freeze, unfreeze, API Key, and Webhook management use independent permissions.
If a menu or button described in this guide is not visible, ask the account Owner to verify the active account, role, and permissions. Repeated refreshes or submissions do not resolve a permission issue.
1.3 Synchronous responses and asynchronous results#
flowchart LR
  A[Submit an operation in Portal] --> B[Synchronous acceptance response]
  B --> C{Is it a final state?}
  C -->|SUCCESS / COMPLETED| D[Reconcile the balance, card, or record]
  C -->|PENDING / PROCESSING / CONFIRMING| E[Wait for asynchronous processing]
  E -.Status update.-> F[Refresh the list or details]
  F --> C
  C -->|FAIL / FAILED / REJECTED| G[Review the reason and correct the issue]
2. Registration-to-card journey#
flowchart TD
  A[Register a merchant account] --> B[Verify the business email]
  B --> C[Sign in and complete TOTP]
  C --> D{Is Portal KYB enabled for this account?}
  D -->|Yes| E[Submit company KYB]
  E -.Asynchronous review.-> F[KYB approved]
  D -->|No| G[Enter Dashboard]
  F --> G
  G --> H[Contact the EasyCards BD]
  H -.Operations configuration.-> I[Card product appears in Portal]
  I --> J[Fund the funds account]
  J --> K[Invite a team member]
  K -.Email invitation.-> L[Member activates and completes personal KYC in H5]
  L -.Status update.-> M[Administrator issues and manages the card]
Being able to sign in does not complete onboarding. The applicable KYB must be complete, the card product must be visible, funds must be available, and the administrator must have the required permissions.
3. Registration, email verification, and sign-in#
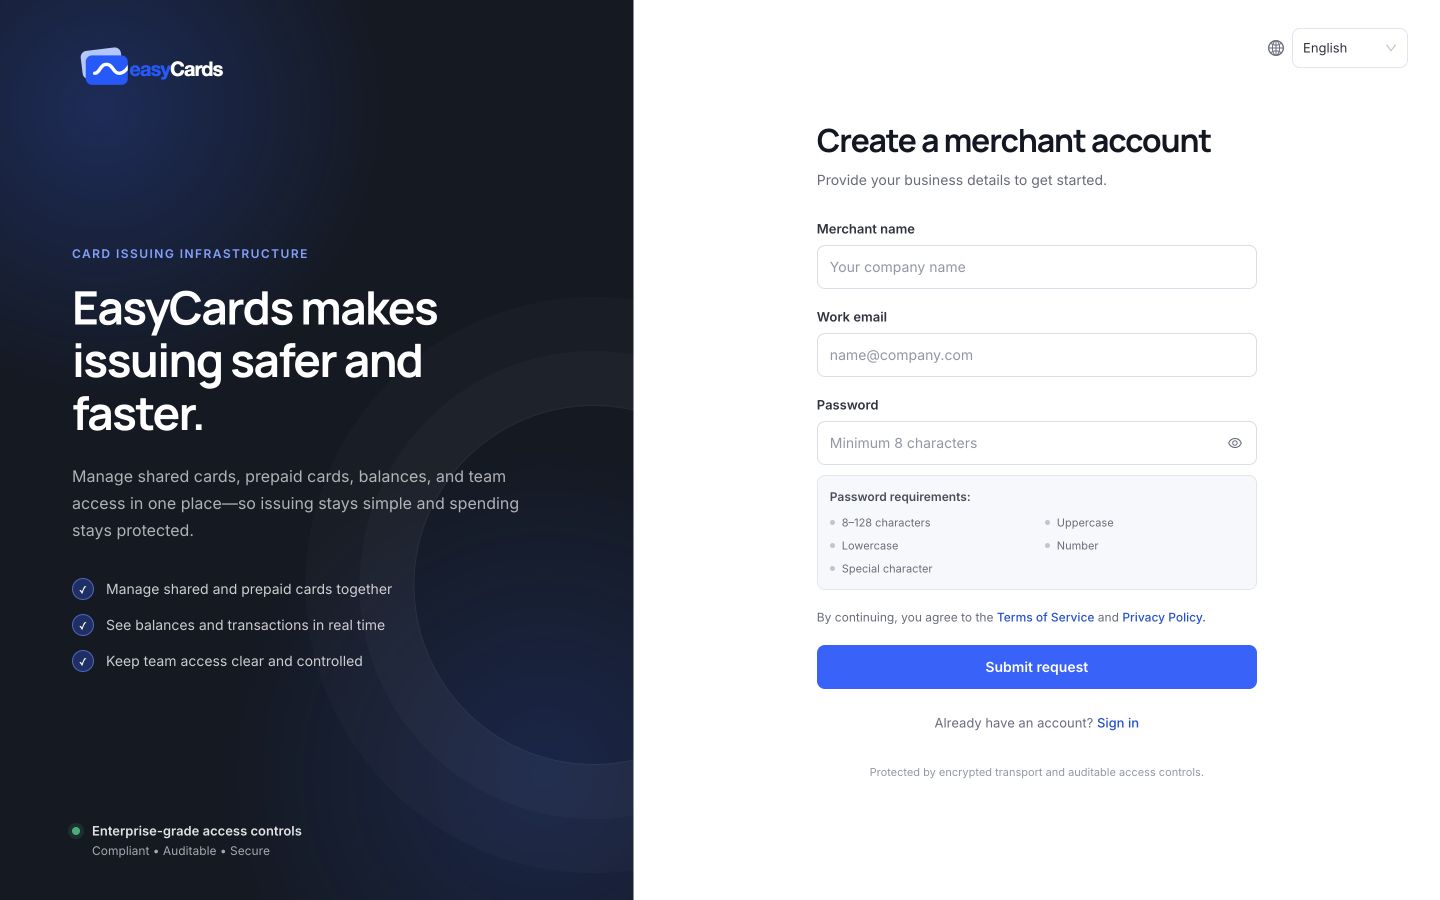
3.1 Register a merchant account#
Open the EasyCards registration page:
- Enter the merchant name and business email.
- Set an 8–128 character password containing uppercase and lowercase letters, a number, and a special character.
- Review the Terms and Privacy Policy, then submit the registration.
- Follow the page instructions to start email verification.
Use a business mailbox that can continuously receive security and operational notifications. The address will be used for sign-in, verification, and important notices.
3.2 Verify the business email#
- Open the EasyCards verification email and complete verification.
- Return to the verification page and select continue or refresh the verification status.
- If the message is missing, resend it after the countdown shown on the page.
- After verification, the Portal continues the sign-in flow or returns to the sign-in page.
An unverified email is not treated as a fully usable sign-in account. If the verification session has expired, return to sign-in and restart the flow.
3.3 Sign in and complete two-factor authentication#
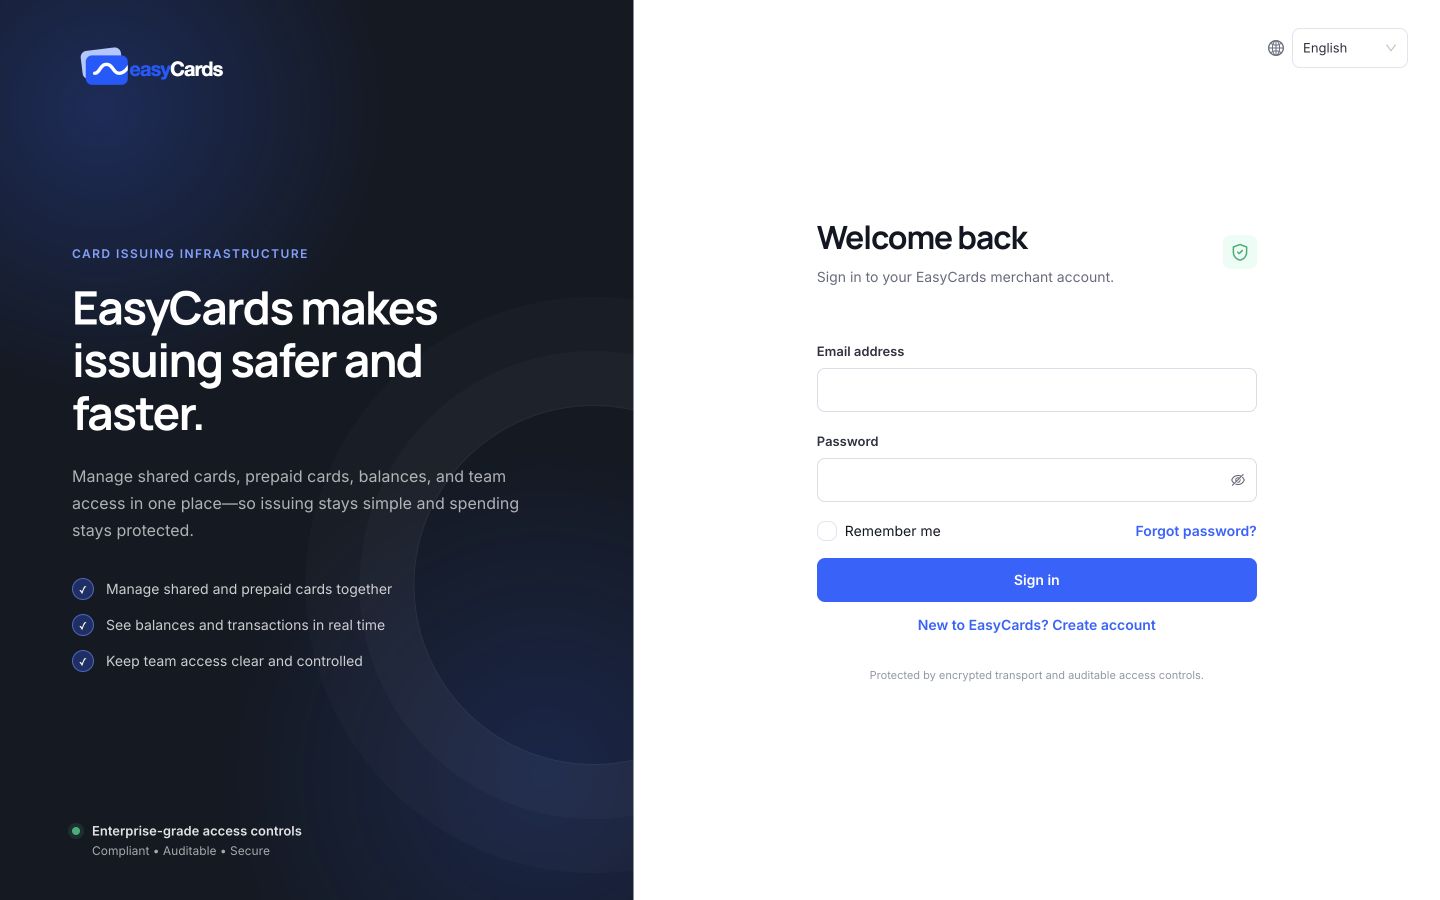
- Open the EasyCards sign-in page.
- Enter the verified email and password.
- If first-time TOTP setup is required, scan the QR code in an authenticator app and enter the six-digit code to enable it.
- If TOTP is already enabled, enter the current six-digit code.
- If the user has multiple accounts, select the account for this session in the account-selection dialog.
Funds, card issuance, limit, card-status, and key-management actions may request a new six-digit code. Use Forgot password on the sign-in page instead of registering a duplicate account.
4. Company KYB in Portal#
4.1 Determine whether KYB is enabled#
Portal KYB is enabled per account:
- enabled and not certified: sign-in automatically enters KYB and blocks normal application pages;
- not enabled: sign-in goes directly to Dashboard;
- certified: sign-in goes to Dashboard normally.
Follow this chapter only when the Portal displays the KYB flow. This guide does not add submission methods or material restrictions that are not shown by the Portal.
4.2 Select the incorporation country or region#
- Select the company's incorporation country or region on the KYB onboarding page.
- Review the required and optional materials returned for that region.
- Use the material-example link when examples are available.
- Confirm the selection and start the form.
The country or region cannot be changed in the active flow after a KYB record is created, so verify it before continuing.
4.3 Complete the four information steps#
Complete the steps in order:
- Basic information: enter company details and address fields shown by the page.
- Company documents: upload the company files currently requested.
- Business information: provide business details and additional information requested by the page.
- Personnel information: add directors, shareholders, and the company contact, including their roles and ownership information.
The Portal company-KYB upload control accepts PDF, JPG/JPEG, and PNG. Required fields, file counts, and material requirements are dynamically returned for the selected incorporation region; follow the current page.
4.4 Submit, wait for review, and correct issues#
PENDING: the submission has been accepted and is under asynchronous review; wait and do not resubmit.APPROVED: confirm the result, then continue to Dashboard.REJECTED: review the issues grouped by step and the review note, confirm the result, and correct the identified fields or files.
After correcting the issues, resubmit and wait for review. Company KYB is complete only when the Portal shows approval and permits access to application pages.
5. Enable card products#
EasyCards Operations configures card products. A merchant cannot enable a new product solely through the Portal.
- Contact your EasyCards BD and explain the required product mode and use case.
- Confirm the requested product information.
- Wait for Operations to finish the configuration.
- Open CARD → Card products and filter by product mode or status.
- Verify card type, product code, shared-card/stored-value-card mode, currency, top-up range, fees, and enabled status.
Only an enabled product should enter the invitation or issuance flow. If the product is missing, disabled, or differs from the agreed configuration, ask the BD to verify it; do not substitute a different product.
6. Dashboard#
Dashboard summarizes the active account's operational state, including account balances, active and frozen cards, transaction success, balance distribution, reminders, and recent transactions.
After each sign-in:
- Confirm that available funds cover the planned issuance and top-ups.
- Review frozen-card and failed-transaction reminders.
- Review recent transactions, then open the relevant card or transaction page for action.
Dashboard is a summary and is not the final record. Use Account list, Top-up records, and Balance details for funds; card lists or details for cards; and Card transaction details for transactions.
7. Funds accounts and digital-asset deposits#
7.1 View accounts and balances#
Open FINANCE → Accounts → Account list:
- Confirm the active account.
- Switch between digital-asset and fiat accounts.
- Verify currency, account name, balance, and available balance.
- Use the target account's action column for deposit, conversion, withdrawal, or ledger details; available actions depend on permissions and displayed buttons.
Balance and available balance may differ. Use available balance when deciding whether a funds operation can proceed.
7.2 Get a USDT deposit address#
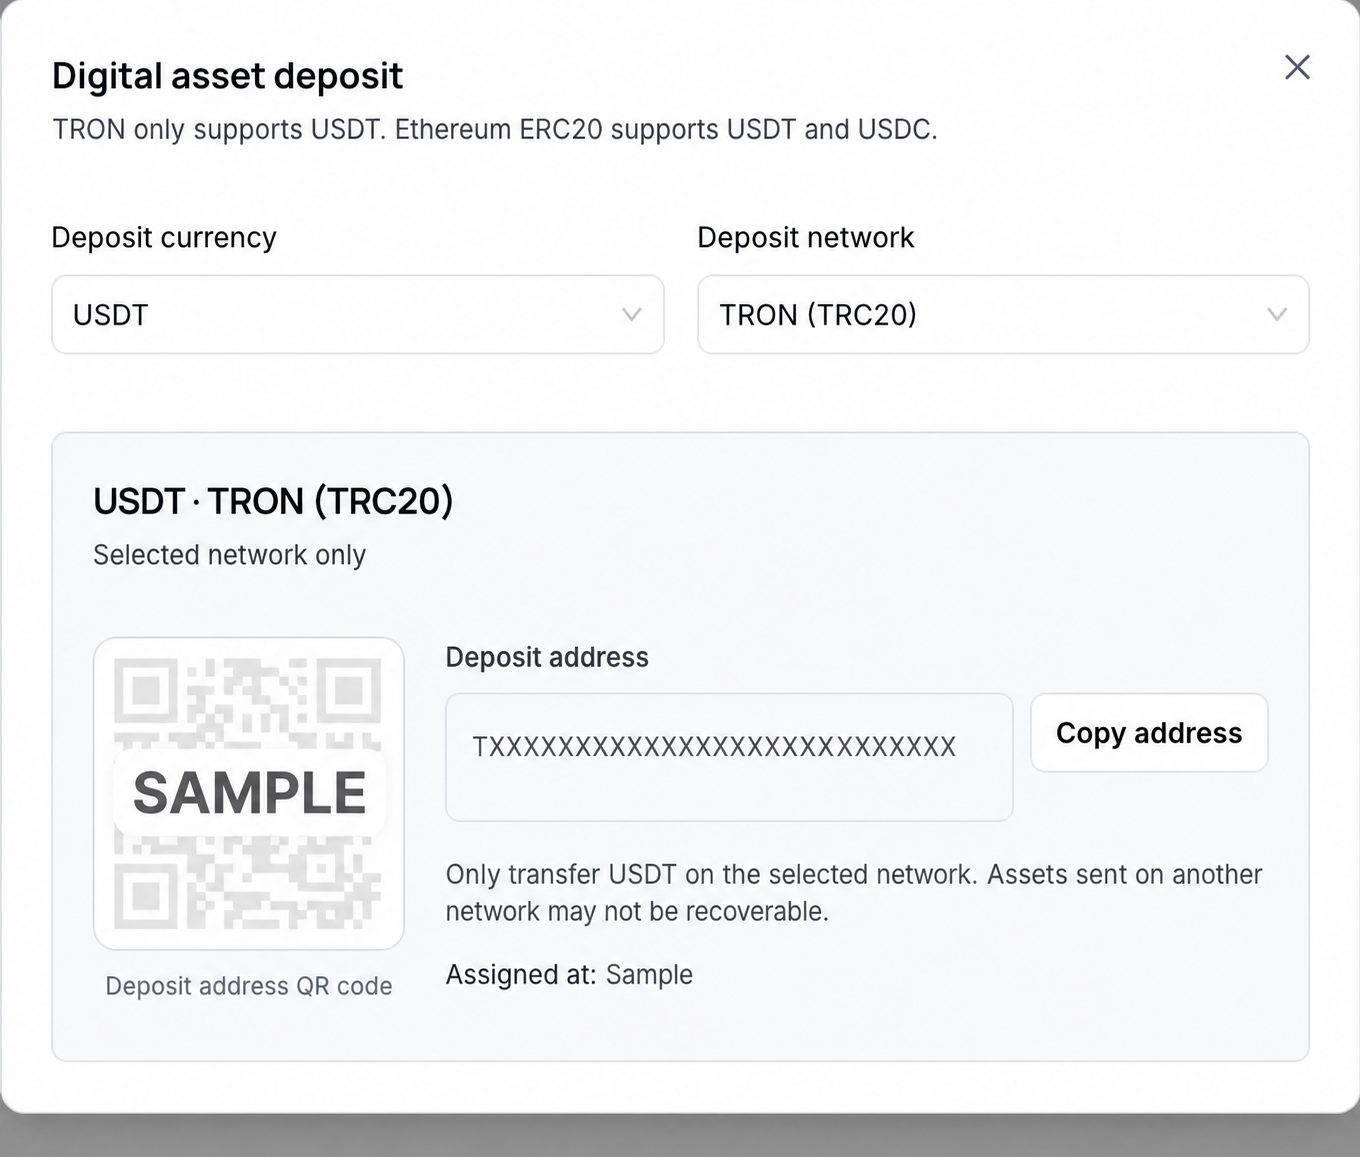
- Find USDT under digital-asset accounts and select Deposit.
- Select the deposit currency and network.
- Verify the currency, network, and complete address shown by the Portal.
- Copy the address with the copy button; do not enter it manually.
- Verify that the sending side uses exactly the same network.
Use the combinations currently available in the deposit dialog. The page states that TRON supports USDT only, while Ethereum ERC20 supports USDT and USDC.
Do not transfer to the address shown below: The QR code and address in this image are documentation samples and cannot receive real funds. Always obtain and verify the live address from the signed-in Portal before depositing.
USDT funds-safety notice
When using an address for the first time or after the address changes, always send a small test amount first. Send a larger amount only after both the deposit record and the target account's available balance confirm receipt. A currency, network, or address mismatch may result in unrecoverable loss.
7.3 Send a small test and confirm receipt#
flowchart LR
  A[Copy the current Portal address] --> B[Verify currency and network]
  B --> C[Send a small USDT test]
  C -.Network confirmations.-> D[Deposit record appears]
  D --> E{Status}
  E -->|CONFIRMING| F[Wait and refresh]
  F -.Confirmation update.-> E
  E -->|CONFIRMED| G[Verify available balance]
  E -->|FAILED| H[Retain the transaction hash and investigate]
  G --> I[Test confirmed]
Open FINANCE → Accounts → Top-up records, filter by currency, network, or status, and verify:
- deposit ID;
- amount and currency;
- network and transaction hash;
- confirmations;
- current status and time.
After the record shows CONFIRMED, return to Account list and confirm that the target currency's available balance has increased. A transaction hash, a visible record, or an in-progress state alone does not confirm receipt.
7.4 Retain and reuse the address#
After the small test succeeds, the merchant should securely retain the verified deposit address.
Before every later deposit, reopen the Portal and recheck the currency, network, and current address. If any item differs from the retained information, stop the transfer and validate the current Portal information again.
7.5 Balance details and exception reconciliation#
Open FINANCE → Accounts → Balance details to filter by ledger type or date and export the ledger as CSV. For an exception, use the deposit ID, transaction hash, or business reference to correlate:
- the deposit-record status;
- the balance-ledger entry;
- the account's available balance.
If the record is confirmed but the available balance has not changed, retain the transaction hash and related identifiers. Do not send a duplicate deposit.
8. Card products and cardholders#
8.1 Review product conditions#
Open CARD → Card products and filter by keyword, card mode, or status. The page shows:
- product name, card type ID, and product code;
- virtual or physical card form;
- shared-card (
BUDGET_CARD) or stored-value-card (PREPAID_CARD) mode; - currency and per-top-up range;
- applicable issuance, KYC, top-up, and cross-border fees;
- enabled or disabled status.
Before issuing a card, verify its mode, currency, fees, and status—not only the product name.
8.2 Review cardholders#
Open CARD → Cardholders to inspect established cardholders and their KYC status, name, email, and phone. Cardholder records are primarily created through team invitation, H5 activation, and KYC. Appearing in this list does not mean a card has been issued.
9. Team invitation and H5 handoff#
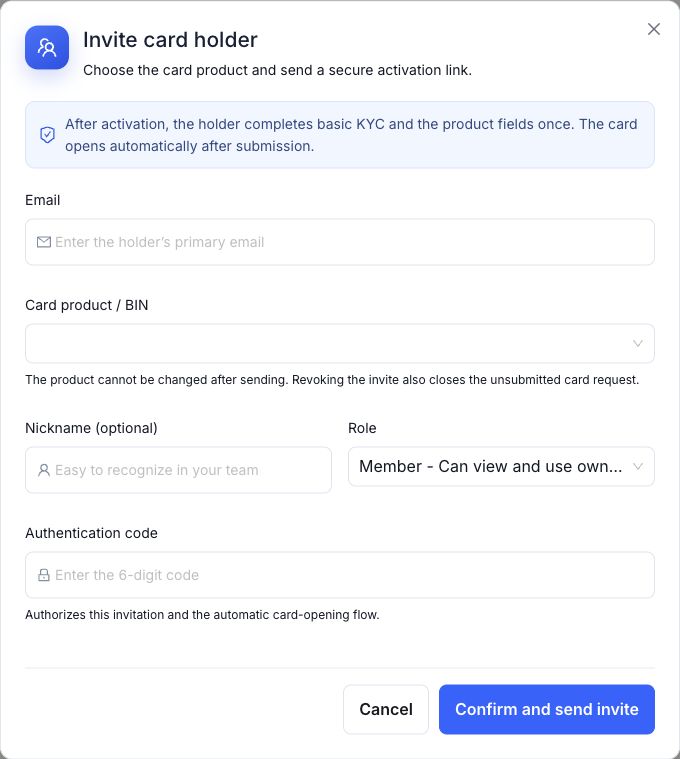
9.1 Invite a team member#
An administrator with team-management permission opens CARD → Team → Team members:
- Select the invite-member action.
- Enter the cardholder's business email.
- Select an enabled card product.
- Confirm the role as Card member. This is the only member role currently offered by the page.
- Enter the administrator's six-digit two-factor code and submit.
- Return to the list and verify the invitation and email-delivery statuses.
A successful synchronous response means only that the invitation record was created. Email delivery, activation, personal KYC, and card issuance happen later.
9.2 Manage invitations and member access#
The list shows invitation, email-delivery, and access states:
PENDING: waiting for acceptance; resend or revoke when the page allows it;ACCEPTED: the member has accepted the invitation;EXPIRED/REVOKED: the original invitation cannot continue; send a new invitation when appropriate;- for an email state of pending, sent, failed, or skipped, use the current list state to decide whether to resend;
- an accepted member can be disabled or restored; disabling may also process the member's cards, so inspect the returned card results.
9.3 Steps completed by the cardholder in H5#
The administrator should direct the cardholder to the H5 link in the invitation email:
- Verify the bound invitation email and set a password.
- Sign in to H5; set up TOTP on first sign-in, then use the six-digit code for later verification.
- Complete basic personal KYC, including name, phone, date of birth, residence address, and nationality.
- If the selected product requires additional identity data, complete the extended KYC fields and uploads.
- Review the card-application state and correct rejected information when action is required.
H5 KYC supports JPG/JPEG, PNG, and PDF files up to 2 MiB each. See the Cardholder H5 Guide for the full cardholder workflow.
9.4 Issue a card to an accepted member#
When the member is accepted and active, and the administrator has card-create permission:
- Select Open new card on the team-member row.
- Select the target product and verify mode, currency, and issuance fee.
- Enter the six-digit two-factor code and submit.
- Retain the returned issuance number and status.
- If KYC is required, ask the member to complete the requested information in H5.
- In the relevant shared-card or stored-value-card list, use
PENDING,FAIL, andSUCCESSto verify the final result.
sequenceDiagram
  participant A as Merchant administrator
  participant P as EasyCards Portal
  participant H as Cardholder H5
  participant S as EasyCards service
  A->>P: Create invitation and select card product
  P->>S: Submit invitation
  S-->>P: Synchronous invitation record
  S-->>H: Asynchronous invitation email
  H->>S: Activate account and submit personal KYC
  S-->>H: Synchronous acceptance state
  S-->>P: Asynchronous member and KYC state update
  A->>P: Submit card issuance for accepted member
  P->>S: Submit issuance application
  S-->>P: Synchronous issuance number and initial state
  S-->>P: Asynchronous review and issuance state update
  A->>P: Refresh card or application list
  P->>S: Query the current result
  S-->>P: Final state and card_id / failure reason
10. Shared account and issued shared cards#
10.1 Review the shared account#
Open CARD → Shared cards → Shared account and verify:
- total, available, and in-transaction balances;
- shared-account state;
- bound funding account;
- any over-limit amount.
The page blocks funds operations when the shared account is not bound to the active funding account, is not in an operable state, or is over limit. Resolve the displayed reason first.
10.2 Transfer funds in or back#
With shared-account funds permission:
- Select Transfer into shared account or Transfer back to main wallet.
- Before transferring in, verify the bound funding account and its available balance.
- Enter a positive amount and six-digit two-factor code.
- Submit and inspect the returned state.
- If it is
PENDING, wait and refresh; do not immediately resubmit. - Confirm the final result using the shared-account balance and shared-account details.
SUCCESS means the operation completed. Review an error for FAIL; PENDING means only that asynchronous processing started.
10.3 Review cards and issuance applications#
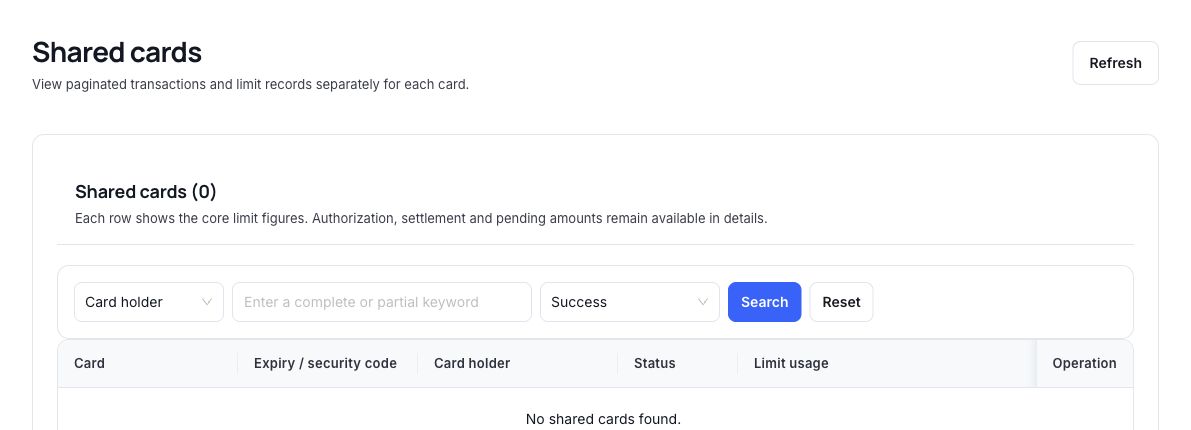
Open CARD → Shared cards → Shared cards:
- use
SUCCESSfor issued cards; - use
PENDINGfor applications still processing; - use
FAILfor incomplete applications and failure reasons.
Search issued cards by cardholder or card keyword, then review card state, configured limit, available limit, and usage. The current list state and card details are the source of truth for issuance.
10.4 Manage an issued shared card#
Depending on permission and card state, an administrator can:
- open card details and review transactions;
- use a six-digit two-factor code to reveal PAN, expiry, and CVV; sensitive data clears automatically after two minutes;
- increase or decrease the limit when both the card and its credit state are active;
- freeze or unfreeze the card.
Limit and card-state changes may return PENDING. Confirm the final state in card details, limit records, or shared-account details. Closing a dialog or seeing a submission notice does not prove the limit has taken effect.
10.5 Reconcile shared-account details#
Open CARD → Shared cards → Shared account details and filter by card, ledger type, or source. Reconcile funding transfers, limit reserves and confirmations, transactions, refunds, and fees using the related business references.
11. Stored-value cards#
The parent menu is labelled Prepaid cards, while its card list is also referred to as stored-value cards. Both describe PREPAID_CARD mode.
11.1 Review cards and applications#
Open CARD → Prepaid cards → Prepaid cards:
- Filter by cardholder keyword, last four PAN digits, and application result.
- Use
SUCCESSfor issued cards. - Use
PENDINGfor applications still processing. - Use
FAILfor failure reasons.
Submit a new stored-value card through Open new card on the team-member list.
11.2 Review and manage a card#
From the stored-value-card action menu or details, users with the required permissions can:
- view cardholder, masked PAN, balance, expiry, and current state;
- reveal sensitive card data after two-factor verification; it clears automatically after two minutes;
- review card transactions and top-up-request history;
- freeze or unfreeze the card.
Before any action, verify at least the cardholder email, last four PAN digits, and card state to avoid operating on the wrong card.
11.3 Direct top-up or top-up request#
Card details show different actions based on permission:
- direct-top-up permission: enter an amount and six-digit code to submit a direct top-up;
- top-up-request permission only: enter an amount, optional note, and six-digit code, then wait for administrator approval;
- neither permission: no top-up action is shown.
A direct top-up may still return PENDING. Refresh the card balance and review its top-up record. For FAIL, inspect the failure reason; the submission message alone does not confirm success.
12. Top-up request approval#
12.1 Review requests#
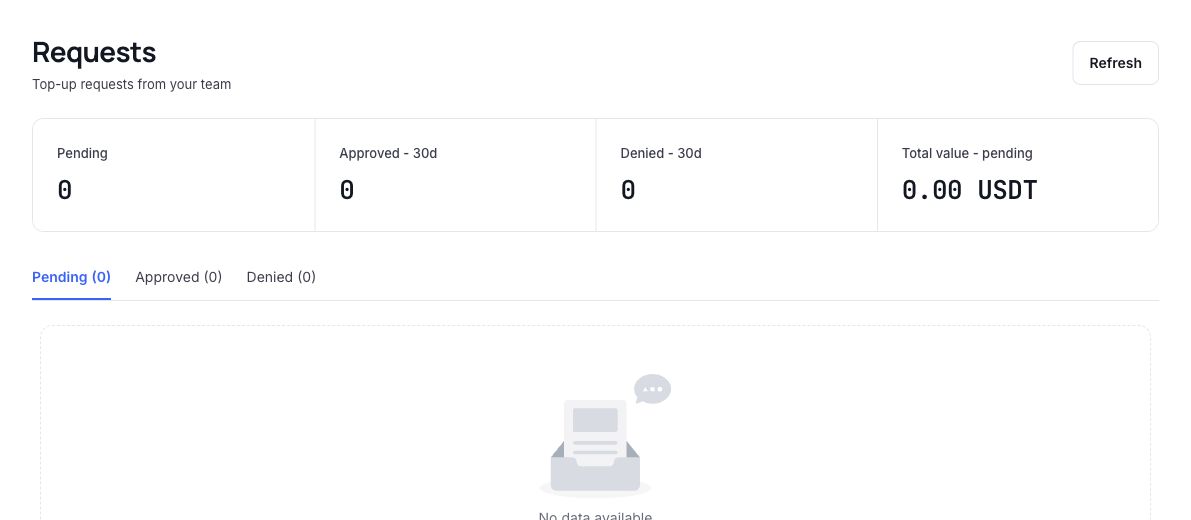
An administrator with request-view or approval permission opens CARD → Team → Requests. The page groups requests by PENDING, APPROVED, and DENIED, and displays the requester, cardholder, amount, note, and time.
Before approval, verify:
- cardholder email and target card;
- requested amount and currency;
- available balance of the merchant funds account;
- whether the request is duplicated or abnormal.
12.2 Approve or deny#
- Approve: enter the administrator's six-digit two-factor code. Approval starts card top-up execution.
- Deny: enter a decision note so the requester can understand the result.
flowchart LR
  A[Cardholder or operator submits top-up request] --> B[PENDING]
  B --> C{Administrator decision}
  C -->|Deny| D[DENIED]
  C -->|Approve + MFA| E[APPROVED]
  E --> F{Top-up execution state}
  F -->|PENDING| G[Wait and refresh]
  G -.Status update.-> F
  F -->|SUCCESS| H[Verify card balance]
  F -->|FAIL| I[Review top-up failure reason]
APPROVED is an approval result; continue to inspect execution:
APPROVED / PENDING: approved but still processing;APPROVED / SUCCESS: execution succeeded; then verify the card balance;APPROVED / FAIL: approval succeeded but top-up failed; inspect the top-up number and failure reason.
Do not approve the same failed request again. Confirm the original top-up's final state before deciding whether a new request is required.
13. Card transaction details#
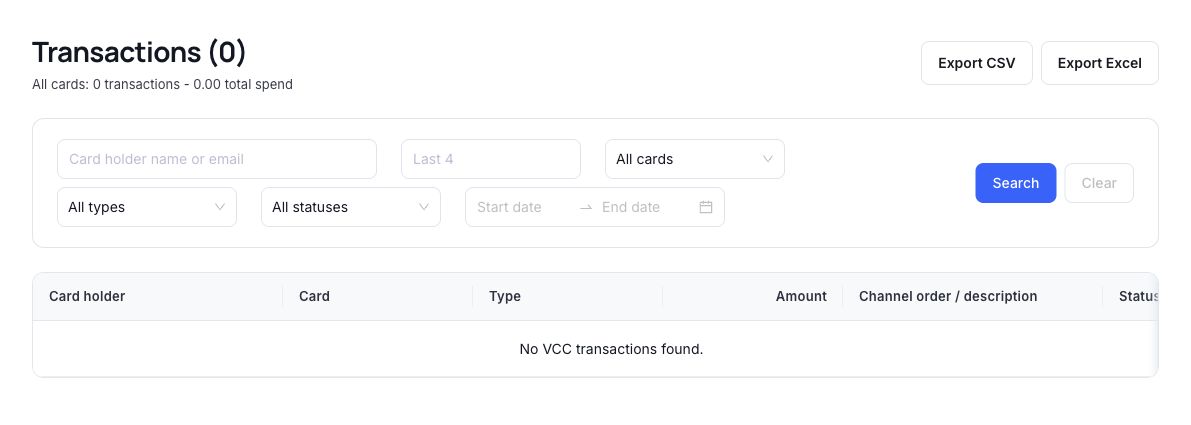
Open CARD → Card transaction details and filter by cardholder, last four PAN digits, shared/stored-value mode, transaction type, status, and date range.
The page displays cardholder, card, transaction type, amount, merchant information, status, and time. To reconcile:
- Narrow the scope by cardholder or card.
- Verify time, amount, currency, direction, and status.
- For failed or in-progress transactions, review both the status and related card—not only the amount.
- Export CSV or Excel for offline review using the current filters; one export currently fetches at most 500 rows.
Card balance, shared-account details, and transaction details serve different purposes. Correlate a discrepancy by transaction number, card ID, and time rather than replacing a full reconciliation with one page.
14. Security settings, API Keys, and Webhooks#
14.1 Manage security settings#
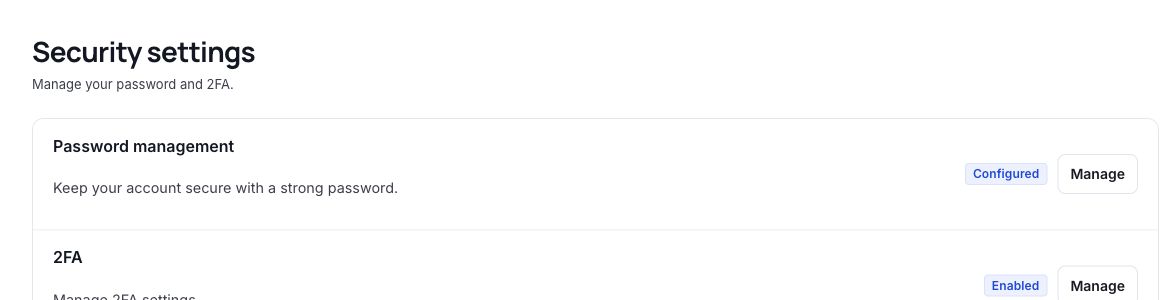
Open SYSTEM → Settings → Security Settings to manage password and TOTP state. Funds, issuance, card-state, and key-management operations depend on two-factor authentication, so ensure the authenticator can generate valid codes before starting.
14.2 Create and manage an API Key#
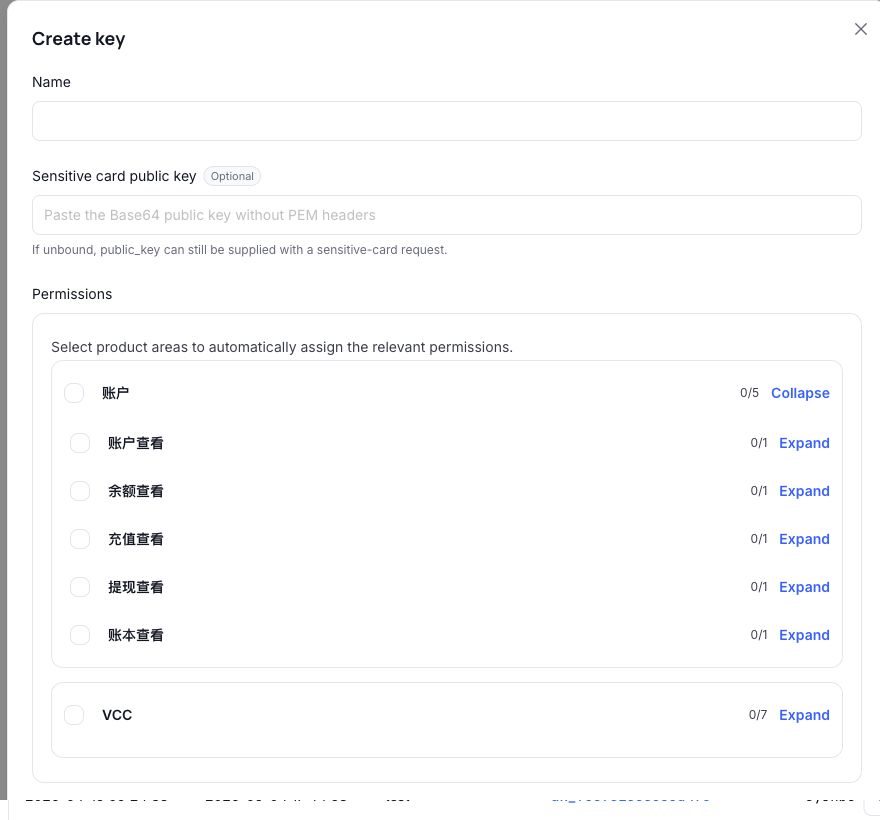
Open SYSTEM → Settings → API keys:
- Select Create key and enter a recognizable name.
- Select only the permissions required for this integration.
- If the integration calls the sensitive-card-data endpoint, bind a sensitive-card-data public key when needed; this field is optional.
- Add an IP allowlist when required.
- Set an expiration date or explicitly select no expiration.
- Enter the six-digit two-factor code and create the key.
- Copy and securely store the API Key immediately; the complete key is shown only once.
After creation, the configuration can be edited, rotated, or disabled:
- rotating invalidates the old key; prepare the caller cutover before rotating;
- a disabled key can no longer call the API;
- never put an API Key in frontend code, chat, or source control.
For development integration, use the VCC Integration Guide and API Reference. This operations guide does not duplicate API fields.
14.3 Configure a Webhook#
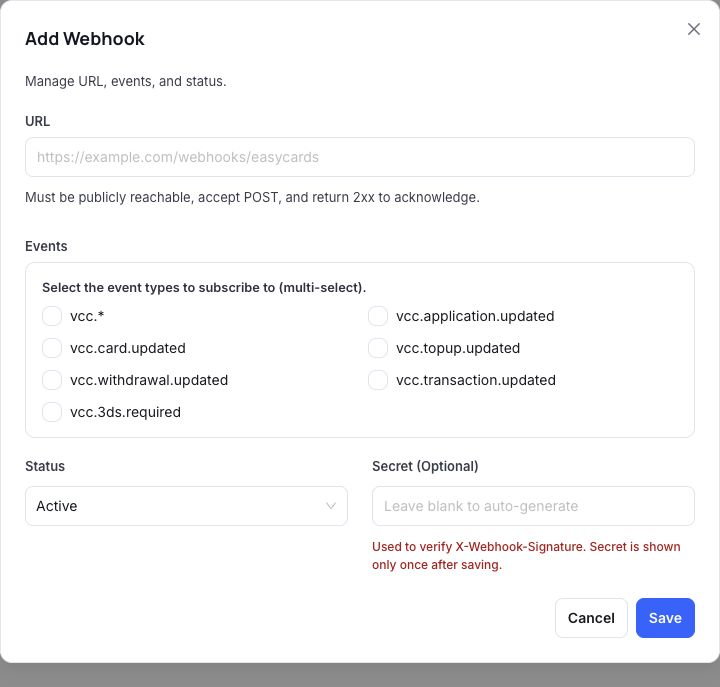
Open SYSTEM → Settings → Webhook config:
- Add a Webhook.
- Enter a publicly reachable URL that accepts POST JSON.
- Select at least one VCC event offered by the page.
- Select active or disabled status.
- Enter a custom Secret if required, or leave it blank for automatic generation.
- Copy the Secret immediately after saving; an automatically generated Secret is shown only once.
Delivery rules:
- EasyCards sends JSON by POST;
- any 2xx response acknowledges delivery;
- non-2xx responses and timeouts retry up to 10 times over up to 72 hours;
- a VCC Webhook always uses
X-Webhook-Signature,X-Webhook-Id,X-Delivery-Id, andX-Webhook-Event; - verify HMAC-SHA256 with the
secretsaved from the API response or final Portal display; do not use the original custom Secret submitted in the create request directly.
A Webhook is an asynchronous notification and is not the sole source of accounting truth. After receiving an event, use its resource identifier to query or reconcile the current Portal state. See Webhook events and delivery rules for signature and event examples.
14.4 Review delivery logs#
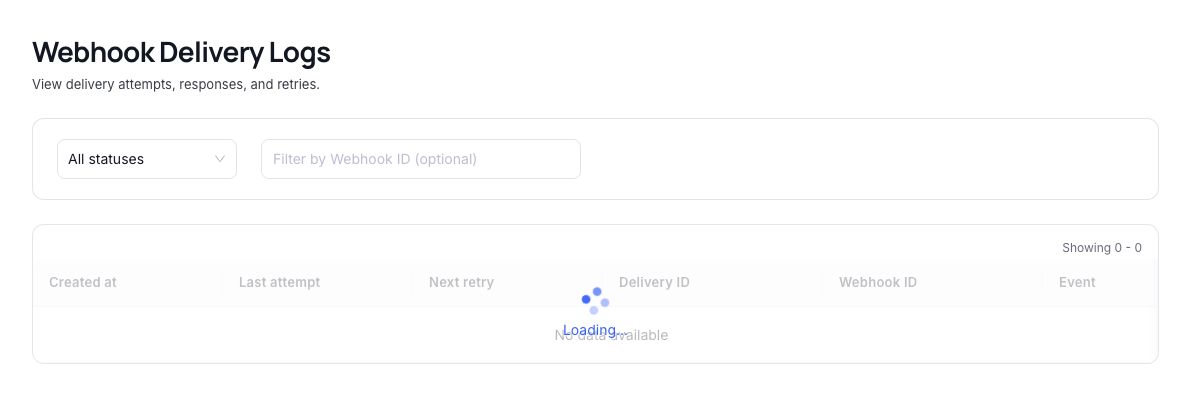
Open SYSTEM → Settings → Delivery logs:
- Filter by Webhook ID or status.
- Review
PENDING,DELIVERED, orFAILED. - Open details to inspect the request URL, request headers, request body, HTTP status, and response body.
- For failures or scheduled retries, review attempts, last error, last attempt time, and next retry time.
Troubleshoot in this order: destination URL reachability → whether the receiver returns 2xx → whether signature verification uses the current Secret → whether downstream business processing is idempotent. Do not create duplicate Webhooks to address one failed delivery.
15. Completion and exception handling#
15.1 Final source of truth for each operation#
| Operation | Synchronous response means | Final completion evidence |
|---|---|---|
| Company KYB submission | Information was accepted | Portal shows APPROVED and permits application access |
| Digital-asset deposit | Transfer was sent or a record appeared | Deposit is CONFIRMED and available balance is updated |
| Team invitation | Invitation record was created | Invitation is ACCEPTED and member access is active |
| Card issuance | Application was accepted with an initial state | Card list shows SUCCESS and a card ID exists |
| Shared-account transfer | Funds operation was accepted | Successful operation plus matching balance and shared-account details |
| Card top-up | Top-up or request was accepted | Top-up is SUCCESS and card balance is updated |
| Freeze, unfreeze, or limit change | Operation was accepted | Card details or limit record shows the final state |
| Webhook delivery | Event entered the delivery queue | Delivery is DELIVERED and the receiver completed idempotent processing |
15.2 Information to retain for an exception#
Do not repeatedly submit the same operation. First retain and reconcile:
- active account and signed-in email;
- page path and operation time;
- deposit ID, transaction hash, invitation ID, issuance number, card ID, top-up-request ID, or Delivery ID;
- initial state, current state, and full failure reason;
- whether a balance, ledger, or card-state change has already appeared.
For funds, issuance, and card top-ups, decide whether to retry only after the final state is known. Resubmitting while an operation remains in progress can create duplicate business activity.